Yesterday morning I took Betty (my sourdough starter) out of the fridge and took her out to the sun room to warm up. I kept her covered loosely with plastic wrap, and draped in a towel because she likes to be kept in the dark.
About mid-afternoon she was feeling warm and toasty, so I gave her a drink of 40 grams (a little less than 1/4 cup) of warm water (100-100 degrees). Then I fed her two gigantic heaping tablespoons of Einkorn flour (a little over 60 grams). Then I covered her back up and left her where it was warm to do her thing. By early evening she was working away and smelly pretty stank, but that’s when Betty’s at her best.
Just before going to bed, I mixed up my dough:
Into a large bowl, stir together:
1/4 cup sourdough starter
2 cups warm water (100-110 degrees)
1 Tbsp salt
1 Tbsp sugar
Then stir in:
6 cups Einhorn flour
You will have a soft and sticky dough. That’s what you want. Einkorn flour doesn’t absorb water like normal flour, so you need your dough to be really wet. If it isn’t sticking to your fingers, the bowl, a spoon, it’s too dry!
Cover the bowl loosely with plastic wrap, drape with a towel, put it in a warm place, then go to bed and dream about bread. (I have a collapsible bread proofing oven because naturally I have to have every little tool and gadget in the world. If you don’t have a warm place, you can try putting it in the oven with the light on.)
Take the remaining starter, cover it with plastic wrap, cover with foil, then stick in the fridge until next time.
In the morning, sprinkle flour on your counter or bread board. Scrape the dough out of your bowl, and this is where it’s really great to have one of those curved, plastic scrapers.
Using a dough scraper, or a flat metal spatula, scrape the dough up on one side, stretch and fold it to the center. Do this about a dozen times. Do not knead the dough. Kneading will make it tough. Do not expect it to be anything like the nice glossy, non-sticky bread dough you’re used to. This dough has to be a soft, sticky mess, that won’t hold it’s shape. I leave my dough wetter than most, and I’ve found it works just fine, because I don’t want dry bread.
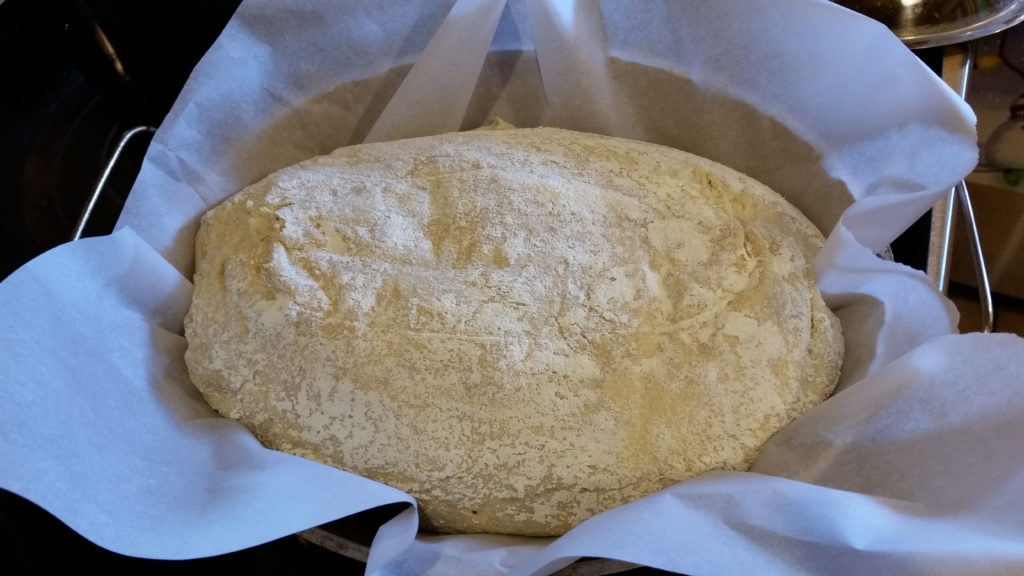
It must be baked in a dutch oven so it won’t dry out. I have an oval dutch oven, so I raise my dough in an oval banneton (basket), lined with cloth that’s heavily coated with flour. If you have a round dutch oven, you could let your dough rise in a bowl coated with cooking spray.
You really can’t pick this dough up and place it in the bowl or banneton. I just stretch, fold, & push it into the oval shape I want, then sort of scoot it over the end of the bread board and let it fall into the basket.
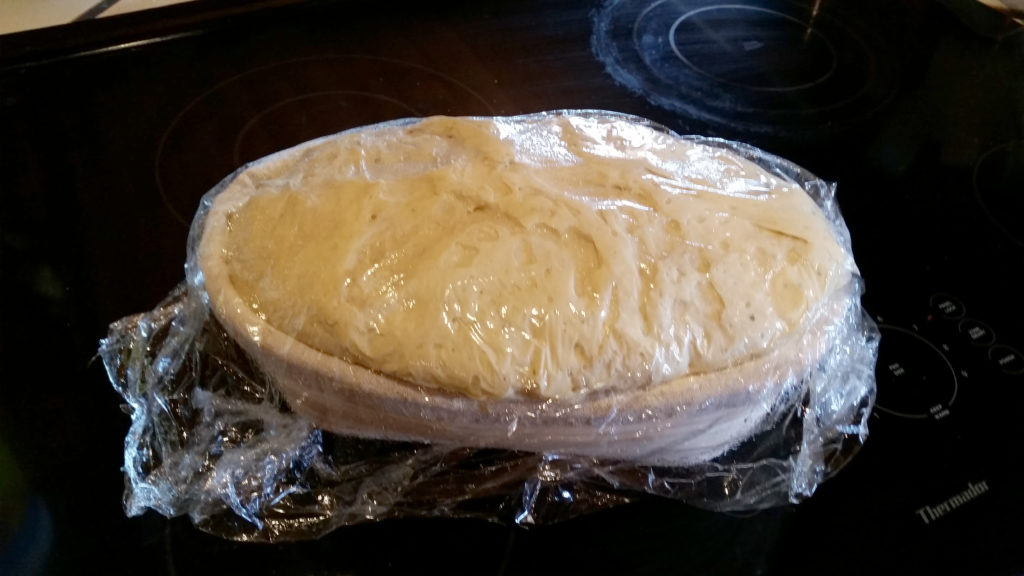
I cover the dough with plastic wrap coated with cooking spray, and let it rise for about 30 minutes in my proofing oven. Then I place my dutch oven into the oven and heat it up to 450 degrees for 30 minutes. By that time my dough has risen up to the top of the basket.
Place a sheet of parchment paper on the counter. Get out the hot dutch oven. Gently turn the dough out onto the parchment paper. Immediately lift the parchment paper up and place the dough, paper and all, into the dutch oven. You can make some slices across the top with a sharp knife or razor blade to give it that artisan look if you’d like. Then slap on the lid and stick it in the oven. Turn the heat down to 425 degrees.
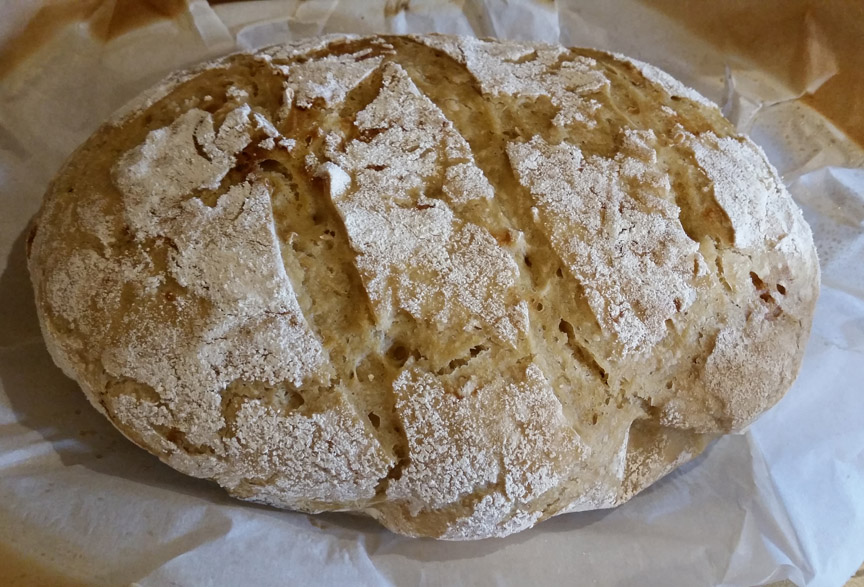
Bake the bread for 30 minutes with the lid on, then remove the lid and bake it 10 minutes or more until it’s golden brown. The internal temperature should be 200 degrees.
Place the bread on a cooling rack, sliding it off of the paper, and let it cool for an hour before cutting. If you want a softer crust, cover it with a kitchen towel while it cools.
After cutting, I put it in a zip lock bag, and set it on the counter, cut side of the bread down. Don’t zip the bag all the way closed, as it needs to breathe. It won’t dry out. And there you go….bread!