
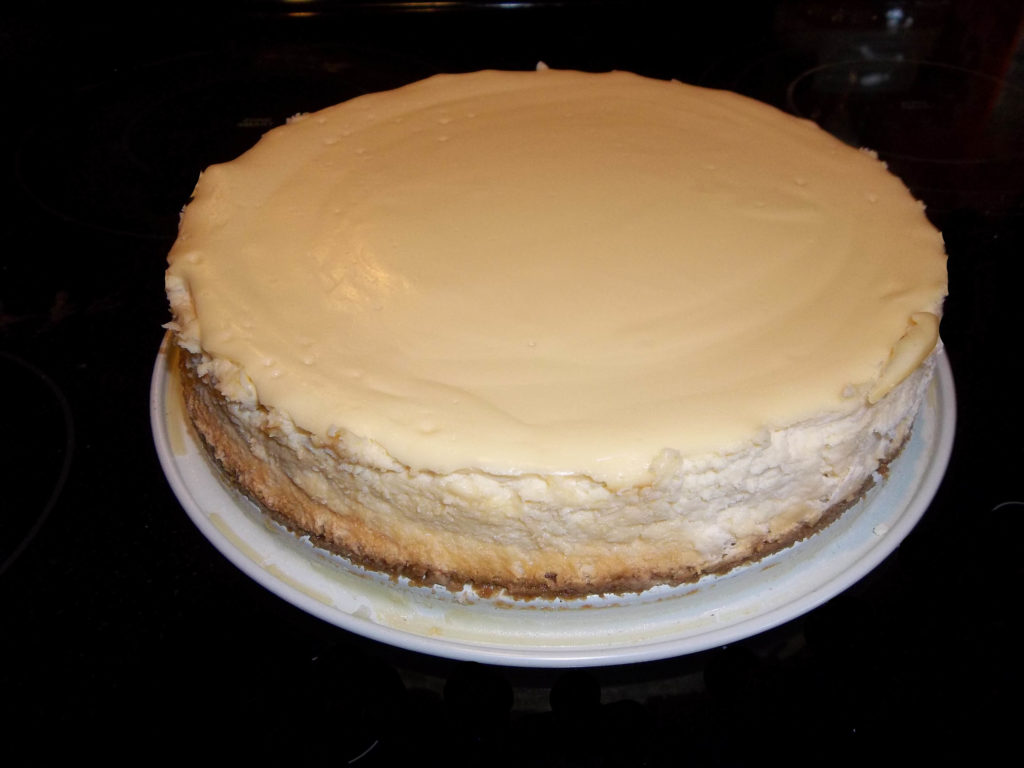
This is my most basic cheesecake recipe. It contains no flour, and if you use gluten free graham crackers to make the crust, you can make it gluten free. I hear they have lactose free cream cheese, although I haven’t been able to find any yet, so it might be possible to make this lactose free as well. Then I guess you could use some alternative sweetener and make it sugar free. But so far I don’t see how we’re going to make this calorie free and there’s the rub. Whatever, I’ll just take mine straight up, sock it to me with all the bad stuff and let the chips fall where they may.
First, a word about pans. I have one of those dark non-stick springform pans, but I don’t like them because I have to be careful not to cut the surface and it’s hard to get the cheesecake off. I have some of those cheap silver pans but they rust. My very favorite is this cheap enameled pan I picked up one day at the grocery store. The bottom of the pan is raised up from the edge, where the bottom and sides form a seal, so it’s easy to slide the cheesecake off of the pan and onto a serving platter if you want. And if you decide to just leave it on the pan bottom, you don’t have to be as careful trying not to cut your pan when you’re cutting a piece of cheesecake.
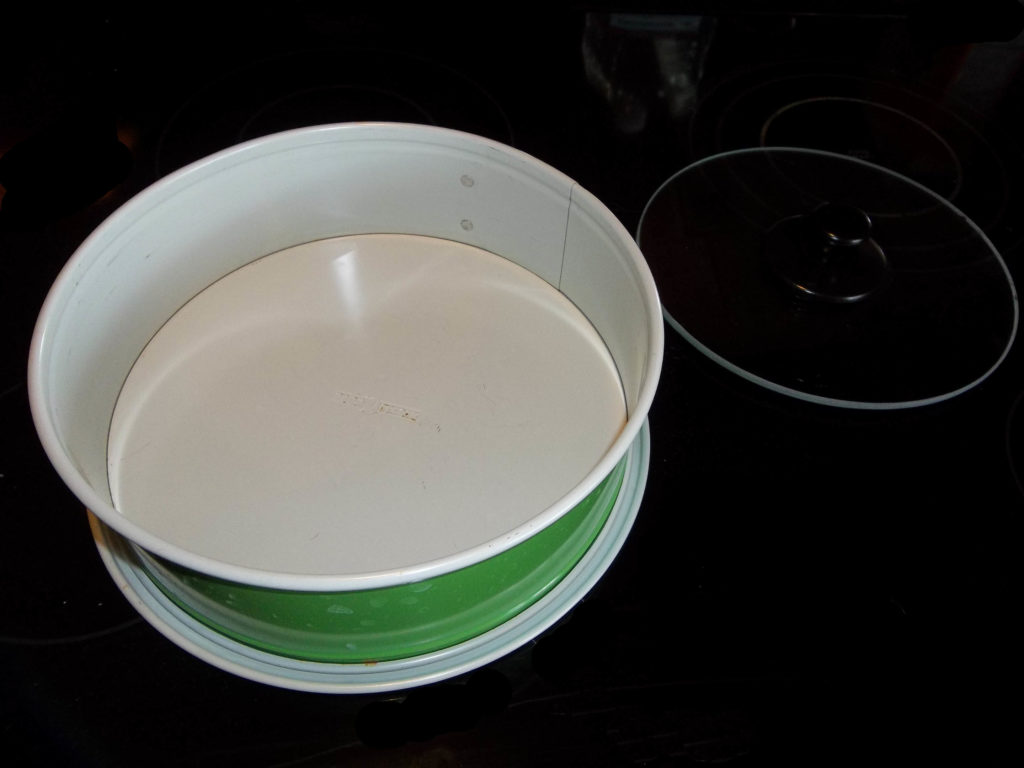
Then, that little thing that looks like a glass lid is a bacon press. It works great to pack the crust down nice and even in the bottom of the pan.

I have a couple of little knives with really thin blades and I have no idea what these are for, or what they’re called. They’re the size of paring knives, but have really thin blades like boning knives. I use them to cut my cheesecake free from the pan. Most recipes will say to let your cheesecake cook for a while first. Big mistake! As soon as it starts to cool it starts to contract, and if the edges are stuck to the sides of the pan, something resembling the Grand Canyon opens up in the middle of your pretty cheesecake. So when I take my pan out of the oven, I run a very thin bladed knife around the edge as quickly as possible to keep it from cracking.
Unfortunately, this doesn’t always work. Your cheesecake can crack if you overcook it, if you beat it too much and incorporate too much air into the batter, or just because it hates you. I’ve heard you can grease the sides of your pan so the batter doesn’t stick, but I’ve never tried that. Supposedly you should beat your cream cheese until it’s really smooth, then add the eggs last and beat just enough to get them mixed in well. I’ve never done that either. But I pass these tips along in case you have a real problem with cracking and want to try them.
The most important thing is to get your batter really smooth so you don’t have lumps of cream cheese. Start with your cream cheese softened, at room temperature. You can beat it really well with an electric mixer, but I prefer to use an immersion blender or food processor. Again, to try and stack the odds in your favor, you might try beating all the other ingredients really well until smooth, then add the eggs last.
Oh yeah, another tip. If you want to put your cheesecake on a serving platter so it looks pretty, here’s what you do. Take a piece of dental floss and slide it along the bottom of the cheesecake to make sure the crust is free from the pan. Then take the two biggest, thinnest, flattest spatulas you can find and slide them under the crust on opposite sides of the cheesecake. Put your platter next to your cheesecake pan and slide the cheesecake from one to the other as quickly as possible.
This cheesecake is as simple as it gets. No water bath. No temperature adjustments mid-cooking. No gradual cooling period in the oven with the door open. And if the worst happens and you find yourself staring at something resembling the Grand Canyon, I’ll give you a recipe for a nice chocolate glaze that covers up all sins. And if you want a little more than plain cheesecake, I’ll give you a yummy strawberry sauce you can spoon over the top of each slice before serving. One way or the other, you can’t fail!
BASIC CHEESECAKE
Crust:
1-1/4 cup graham cracker crumbs
1/4 cup sugar
1/3 cup melted butter
Filling:
3 8oz bricks of cream cheese, softened at room temperature
1 14oz can sweetened, condensed milk (not evaporated)
1/4 cup lemon juice
3 eggs
Preheat your oven to 300 degrees.
Make the crust: You can buy boxes of graham cracker crumbs. Or you can run graham crackers through a food processor or blender to make crumbs. Or you can place them in a zip lock bag, squeeze out the air, and roll with a rolling pin. Mix all the crust ingredients together and press into the bottom of a 9″ springform pan. This is where the bacon press comes in handy, but you can use your fingers, the bottom of a glass, or anything flat you can find.
Beat your filling really well to make sure the batter is smooth with no lumps, and pour into your pan.
Bake for 45-50 minutes until the top looks dull except for a small 3″ diameter circle in the center that will still have a slight sheen to it.
Remove from the oven and immediately run a very thin bladed knife around the edge. Let it cool to room temperature, then chill for at least six hours before serving.
CHOCOLATE GLAZE
In the event you need to cover up unsightly cracks, or just because you like chocolate…
6 oz semisweet chocolate chips
2 Tablespoons butter
4 Tablespoons cream
Melt the ingredients together in the top of a double boiler, or a heat-proof bowl set over a pan of simmering water. Remove from the heat and let cool slightly. Pour the glaze over the cheesecake and spread evenly, leaving a 1/4 to 1/2 inch border around the edge. (Trying to stay away from the edge here so the glaze doesn’t run down the sides) You might not need all of the glaze, so don’t just dump it on all at once. Chill until the chocolate has set before serving, as least ten minutes.
STRAWBERRY SAUCE
Kick your cheesecake up a notch with some of this yummy sauce spooned over the top of each slice before serving.
20 oz frozen, sweetened strawberries, thawed
1 Tablespoon cornstarch
Run through the blender until smooth. Bring to a boil and boil for two minutes. Chill. If you have a package of strawberries that’s a little over 20 oz., just add a pinch more cornstarch.
I have a little 6″ mini springform pan I use to make a little gluten free cheesecake when need. For the mini size the recipe is:
Crust:
Slightly less than 1/2 cup graham crackers (4/10 of a cup) If making it gluten free, I get the Schlar brand from Walmart and it takes one of the three little packets that come in the box.
1 Tablespoon plus 1 teaspoon sugar
Slightly less than 1 Tablespoon butter (1.77 Tbsp to be exact)
Filling:
8 oz package of cream cheese
4.66 oz condensed milk ( a little over 1/2 cup)
1 Tablespoon plus 1 teaspoon lemon juice
1 egg